

So, you want ice cream but your freezer is either broken, full of mystery leftovers from 2022, or you just don’t want to wait four hours for anything to freeze. Totally valid. Good news — you can make actual, real, creamy ice cream in a bag in about 10 minutes using nothing but a few kitchen staples and some elbow grease. Yep, literally.
This is one of those ideas that sounds like a Pinterest trick that never actually works — but trust me, this one delivers. I made this with my nephew on a rainy Sunday afternoon, and we both ended up eating ice cream out of a bag and feeling genuinely proud of ourselves. Science is cool.
What Exactly Is Bag Ice Cream?
Ice cream in a bag is exactly what it sounds like — you make homemade ice cream without a freezer by shaking a small bag of cream mixture inside a larger bag filled with ice and salt. The salt lowers the freezing point of the ice (shoutout to chemistry class), which pulls heat out of the cream mixture and freezes it quickly.
It’s basically easy no-freezer ice cream that you shake into existence. No machine, no mold, no patience required. Just bags, ice, and a little arm workout.
This method has been around forever — it was a classroom science experiment in the ’90s and it’s just as satisfying now.
Ingredients You’ll Need
Here’s the beautiful part: you probably have everything already.
For the ice cream mixture (small bag):
- 1 cup of heavy cream (or half-and-half)
- 2 tablespoons of sugar
- ½ teaspoon of vanilla extract
- A pinch of salt
For the freezing setup (large bag):
- 4 cups of ice (crushed or cubed)
- ¼ cup of rock salt (kosher or table salt works too, but rock salt is best)
That’s it. Six ingredients, most of which you already have. FYI, heavy cream gives you a richer result, but half-and-half works if that’s what’s in your fridge. No judgment.
Step-by-Step: How to Make Ice Cream in a Bag
Here’s the method that actually works. Follow it closely the first time, then go wild with flavors after.
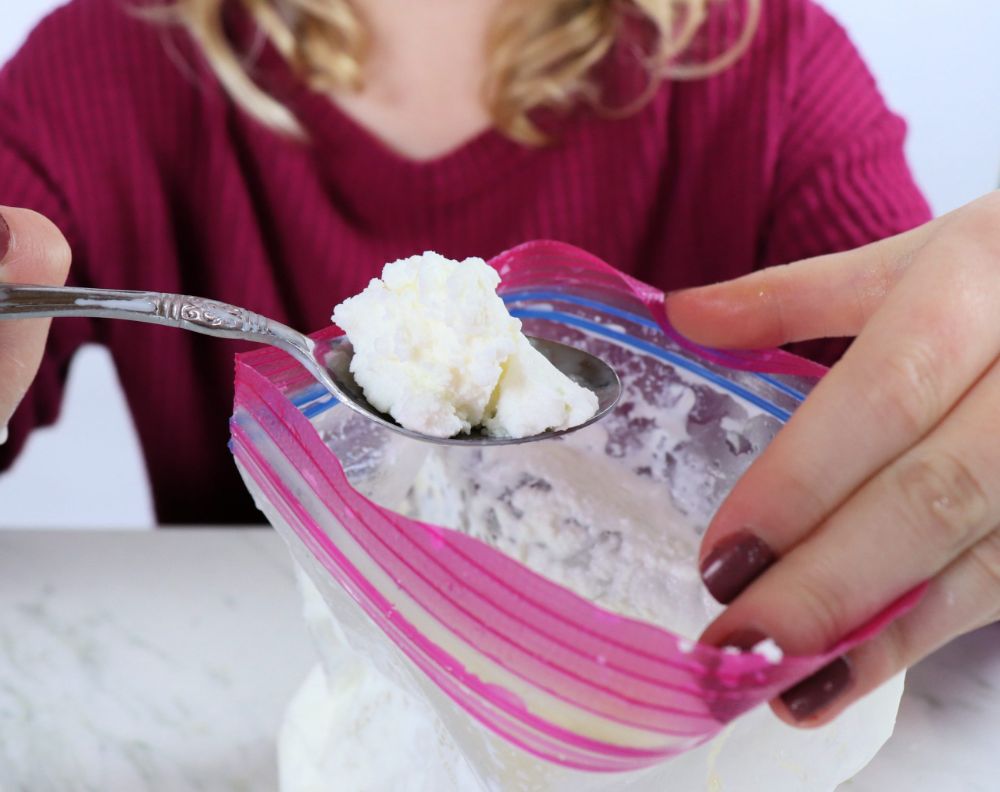
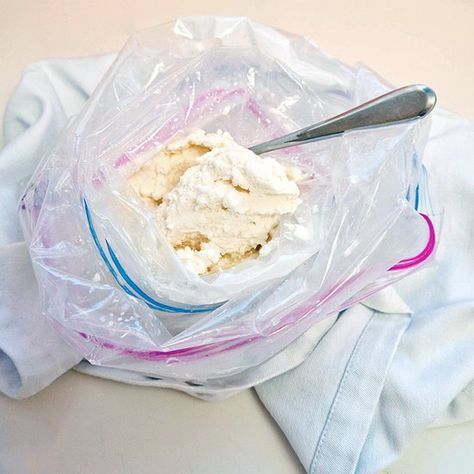
- Pour your cream mixture into the small bag: Add the heavy cream, sugar, vanilla, and pinch of salt into a small zip-lock bag (quart-sized is perfect). Seal it tightly. Like, really tightly — you do not want a cream explosion.
- Set up your big bag: Fill a large zip-lock bag (gallon-sized) with the ice and pour in the rock salt. Mix it around a bit so the salt coats the ice.
- Place the small bag inside the big bag: Put your sealed cream bag into the ice-and-salt bag. Seal the large bag. Again — tightly.
- Shake it: Now shake, squeeze, rotate, and toss that bag for about 7 to 10 minutes. Don’t stop — this is where the magic happens. It helps to wear gloves or wrap the bag in a dish towel because it gets cold fast.
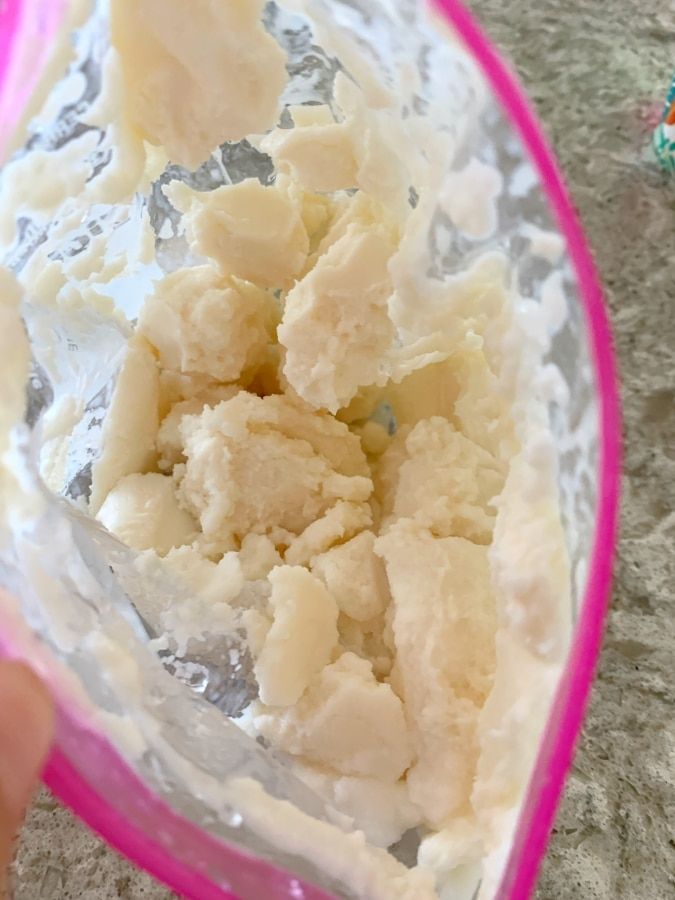
- Check for doneness: After 8 minutes or so, the mixture inside should feel thick and scoopable. If it’s still liquid-y, keep shaking for a couple more minutes.
- Scoop and eat: Open the small bag carefully, grab a spoon, and dig in. You just made homemade ice cream without a freezer. Honestly? Chef’s kiss.
Best Type of Bags to Use
Not all bags are created equal here. This matters more than you’d think.
For the small (inner) bag:
- Use a quart-sized zip-lock freezer bag — the thicker, the better. Thin bags can leak or split under the shaking.
- Double-bag it if you’re worried. Better safe than milky.
For the large (outer) bag:
- A gallon-sized zip-lock freezer bag is ideal. You need enough room for the ice, the salt, and the inner bag to slosh around comfortably.
- Some people use a large resealable silicone bag — these work great and are more eco-friendly if you make this regularly.
Pro tip: Avoid using thin sandwich bags as the inner bag. They will burst. Speaking from experience — messy, cold, slightly tragic.
Tips for Making It Creamier
IMO, this is where the difference between “pretty good” and “oh wow” ice cream happens.
- Use heavy whipping cream, not milk: Milk has too much water content and produces an icier, less creamy result. Heavy cream = rich and smooth every time.
- Don’t skip the salt in the cream mixture: That tiny pinch of salt actually enhances the sweetness and makes the whole thing taste more balanced.
- Add a tablespoon of cream cheese: To the cream mixture before sealing. It sounds weird, but it gives the texture a silky, dense quality that’s chef’s kiss.
- Shake continuously: If you stop and take long breaks, the mixture freezes unevenly and gets a bit grainy. Keep it moving.
- Use crushed ice if possible: It has more surface area touching the bag, which means faster and more even freezing.
Common Mistakes to Avoid
Let’s save you some grief here.
- Not sealing the bags properly: This is the #1 mistake. A leaky bag means salty cream all over your hands and zero ice cream. Press those seals firmly before you start.
- Using too little salt: The salt is what makes the ice cold enough to freeze your cream. Don’t reduce it to “save” ingredients — it won’t work as well.
- Stopping too early: If you open it at 5 minutes and it looks like liquid, just keep going. Trust the process.
- Skipping the gloves/towel: That bag gets seriously cold. Your hands will thank you.
- Using low-fat or skim milk: You’ll get a watery, sad result. This is ice cream, not a diet plan.
Fun Flavor Ideas to Try
Once you’ve nailed the classic vanilla, it’s time to get creative. The base recipe is super flexible.
Swap or add these to the cream mixture:
- Chocolate: Add 1 tablespoon of cocoa powder + extra teaspoon of sugar
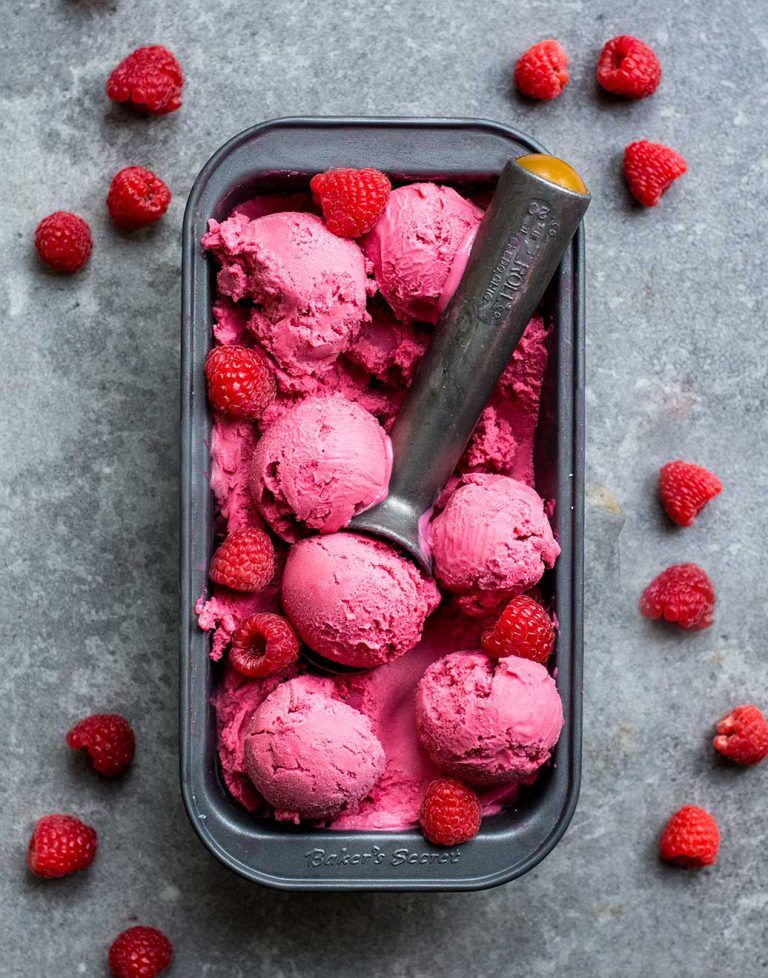
- Strawberry: Blend 2 tablespoons of strawberry jam or fresh strawberries into the cream
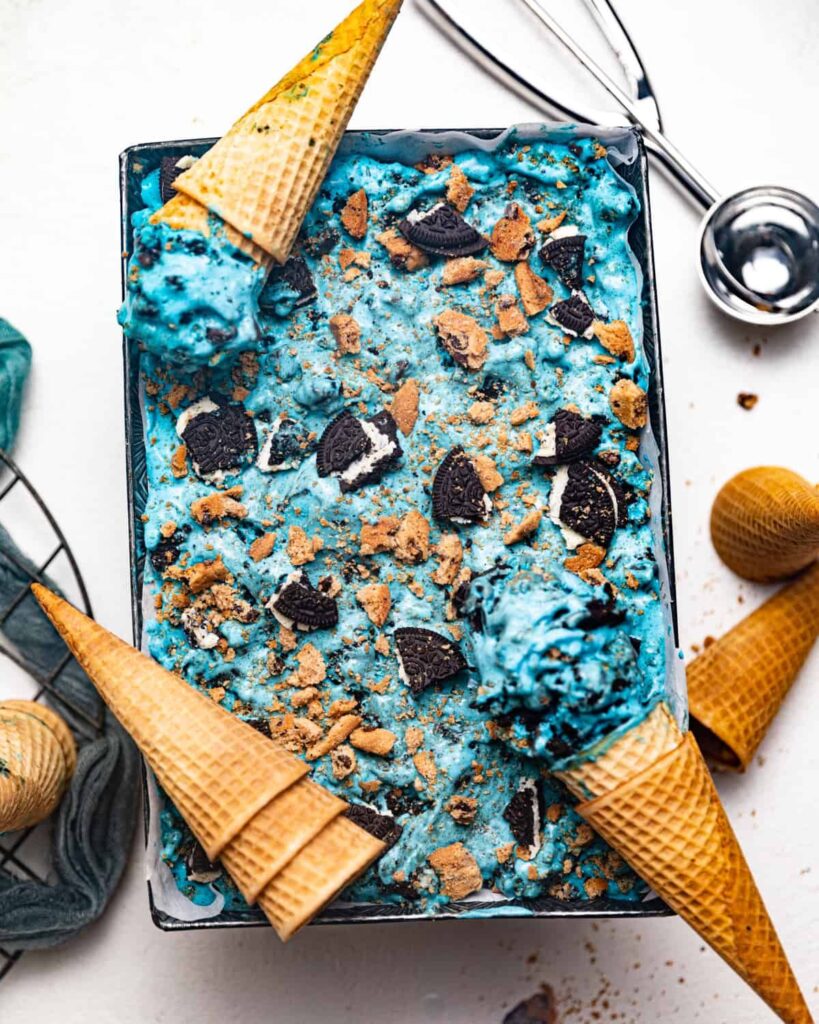
- Cookies and cream: Crush 3–4 Oreos and stir them in right after shaking (not before — they’ll get soggy)
- Peanut butter banana: Add 1 tablespoon of peanut butter and half a mashed banana
- Matcha: Add ½ teaspoon of matcha powder for a slightly earthy, sophisticated vibe
- Birthday cake: Add sprinkles and a drop of almond extract — instant party vibes
If you’re into tropical flavors, you’ll love pairing this method with ideas from Mango Coconut Ice Cream — you can adapt those flavor combos perfectly for the bag method.
And if you’re trying to keep things a little lighter, check out these Healthy Ice Cream Recipes for some low-sugar and dairy-free swaps that still taste amazing.
Why Kids Absolutely Love This Activity
Let’s be real — half the appeal here is that kids lose their minds over this. And for good reason.
It feels like a science experiment. You’re making something cold with something cold. You’re shaking a bag like it owes you money. And then — ice cream appears. For a kid, that’s basically magic.
- It keeps them busy for 10+ minutes (a small miracle)
- They can customize their own flavors
- They made it themselves, so they’ll definitely eat it
- It teaches a tiny bit of real science (freezing point depression) without them realizing they’re learning anything
I genuinely think this is one of the best rainy day activities out there. No screen time, a little effort, and a delicious reward at the end. Win-win-win.
For another summer activity that’s just as fun, try making How to Make Watermelon Ice Cream — it’s another no-fuss recipe that kids go absolutely wild for.
FAQs About Making Ice Cream in a Bag
Q: Does it actually taste like real ice cream?
Yes! It’s genuinely creamy and delicious, especially if you use heavy cream. It won’t taste exactly like a $9 artisan scoop, but it’s way better than you’d expect from a zip-lock bag.
Q: How long does it take?
About 7–10 minutes of shaking. Total prep time including gathering ingredients is maybe 15 minutes.
Q: Can I use a dairy-free alternative?
Absolutely. Coconut cream works really well and produces a thick, rich result. Oat milk is thinner and gives a slightly icier texture, but still works.
Q: What if my ice cream isn’t freezing?
Add more salt to the ice. The salt-to-ice ratio is key — if there’s not enough salt, the ice won’t get cold enough to freeze the cream.
Q: Can I make a bigger batch?
You can double the recipe, but you’ll need a bigger outer bag and more ice. The shaking also gets harder with more volume, so plan accordingly.
Q: How long can I store leftover ice cream?
If there’s any left (there usually isn’t), scoop it into a small container and freeze it. It keeps for 1–2 days, though the texture is best fresh.
Q: Is this the same as the salt and ice challenge?
No! The salt and ice challenge is dangerous and should not be done on skin. This uses a sealed bag as a barrier. The ice never touches you directly (wear gloves just in case).
Final Scoop (Yes, Pun Intended)
Making ice cream in a bag is one of those things that sounds too simple to be worth trying — and then you try it and you’re kind of amazed it works. It’s fast, it’s fun, it needs zero special equipment, and the cleanup is basically throwing away two bags.
Whether you’re doing this as a summer activity with kids, a camping treat, or just because your freezer is packed full of stuff you forgot about — easy no-freezer ice cream is always a good idea.
Give it a shot this weekend. Shake it like you mean it. And then sit back and eat ice cream you made with your own hands.
Have a flavor combo you love? Experiment, get creative, and enjoy every bite.


