

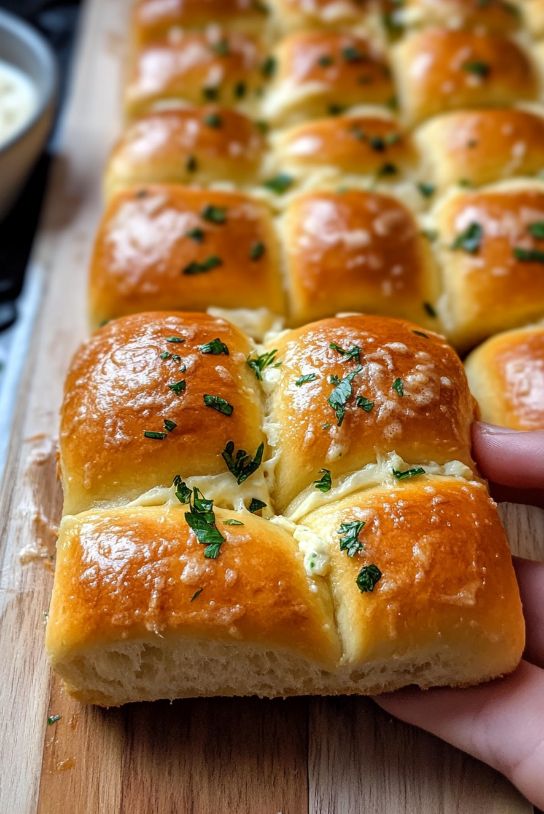
There’s something deeply comforting about pulling a tray of fluffy bread rolls out of the oven — the golden tops, the pillowy give when you press them, and that rich, yeasty scent that fills every corner of your kitchen. Whether you’re making them for a holiday dinner, a cozy family meal, or simply because you want fresh bread on a Tuesday afternoon, this easy homemade recipe will become your forever go-to. Once you taste bread rolls that genuinely melt in your mouth, you’ll never reach for the store-bought kind again.
This guide walks you through everything — the exact ingredients, foolproof technique, pro tips, and common pitfalls — so that even if you’ve never worked with yeast before, you’ll turn out bakery-worthy rolls every single time.
Why These Bread Rolls Are Different
Most bread roll recipes give you something decent but a little dense, a little dry, or lacking that wow factor. The secret to rolls that are truly cloud-soft and melt-in-your-mouth lies in a combination of three things: tangzhong (a flour-water paste), enough fat for richness, and proper proofing time. Together, these elements create a crumb so tender it practically dissolves on your tongue.
Tangzhong is a Japanese technique — borrowed from the world of milk bread — where you cook a small portion of the flour and liquid together before adding it to the dough. This gelatinizes the starches and locks in extra moisture, giving you rolls that stay soft for days rather than going stale by the next morning.
Ingredients
For the Tangzhong (Starter Paste):
- 3 tablespoons (25g) all-purpose flour
- ½ cup (120ml) whole milk
For the Dough:
- 3 cups (380g) all-purpose flour, plus extra for dusting
- 2¼ teaspoons (7g) instant dry yeast (1 packet)
- 3 tablespoons (36g) granulated sugar
- 1 teaspoon fine salt
- ½ cup (120ml) warm whole milk (around 110°F / 43°C)
- 1 large egg, room temperature
- 4 tablespoons (57g) unsalted butter, softened and cubed
- All of the tangzhong from above
For the Finish:
- 2 tablespoons unsalted butter, melted
- Flaky sea salt (optional, for topping)
Step-by-Step Instructions
Step 1: Make the Tangzhong
In a small saucepan, whisk together the 3 tablespoons of flour and ½ cup of milk until no lumps remain. Place the pan over medium-low heat and stir constantly for about 3–5 minutes, until the mixture thickens into a smooth, pudding-like paste. It should hold soft ribbons when you lift the spoon. Remove from heat and let it cool to room temperature before adding it to your dough.
This step takes less than 10 minutes and makes a dramatic difference in the final texture of your rolls. Don’t skip it.
Step 2: Activate the Yeast
In a small bowl, combine the warm milk and sugar, then sprinkle the instant yeast over the top. Give it a gentle stir and let it sit for 5–10 minutes. You’re looking for the mixture to become foamy and fragrant — this tells you the yeast is alive and active. If nothing happens after 10 minutes, your yeast may be expired or the milk was too hot. Start fresh.
Step 3: Mix the Dough
In a large mixing bowl (or the bowl of a stand mixer fitted with the dough hook), combine the flour and salt. Add the activated yeast mixture, the cooled tangzhong, and the egg. Mix on low speed until a shaggy dough forms — about 2 minutes. The dough will look rough and somewhat sticky at this point, and that’s perfectly fine.
Once the dough comes together, increase speed to medium and begin adding the softened butter, one piece at a time, waiting for each piece to be fully incorporated before adding the next. This takes patience — about 8–10 minutes total — but it is what gives the rolls their rich, tender crumb.
If mixing by hand, knead the dough on a lightly floured surface for 12–15 minutes, working in the butter gradually. The dough is ready when it’s smooth, elastic, and slightly tacky but doesn’t stick aggressively to your hands.
Step 4: First Rise
Shape the dough into a ball and place it in a lightly oiled bowl. Cover with plastic wrap or a damp kitchen towel and let it rise in a warm spot for 1 to 1.5 hours, or until doubled in size. The inside of a turned-off oven with just the light on works perfectly.
Step 5: Shape the Rolls
Once the dough has doubled, turn it out onto a lightly floured surface. Gently punch it down to release the gas, then divide it into 12 equal portions (about 75–80g each for consistency — use a kitchen scale if you have one).
To shape each roll, take a portion and flatten it slightly with your palm. Fold the edges toward the center, then flip it over and roll it against the work surface in a circular motion, using cupped hands to create surface tension. You want smooth, taut tops with no seams visible. Place the shaped rolls into a greased 9×13-inch baking pan, spacing them about ½ inch apart.

Step 6: Second Rise
Cover the pan loosely with plastic wrap and let the rolls proof for another 45–60 minutes, until they are puffed, touching each other, and look noticeably larger. This second rise is what makes the interior airy and soft. Don’t rush it by placing the dough in a warm oven — let it rise at room temperature for the best flavor development.
Step 7: Bake
Preheat your oven to 375°F (190°C). Once the rolls are fully proofed, uncover the pan and place it on the center rack. Bake for 18–22 minutes, until the tops are a deep golden brown and the rolls sound hollow when tapped on the bottom.
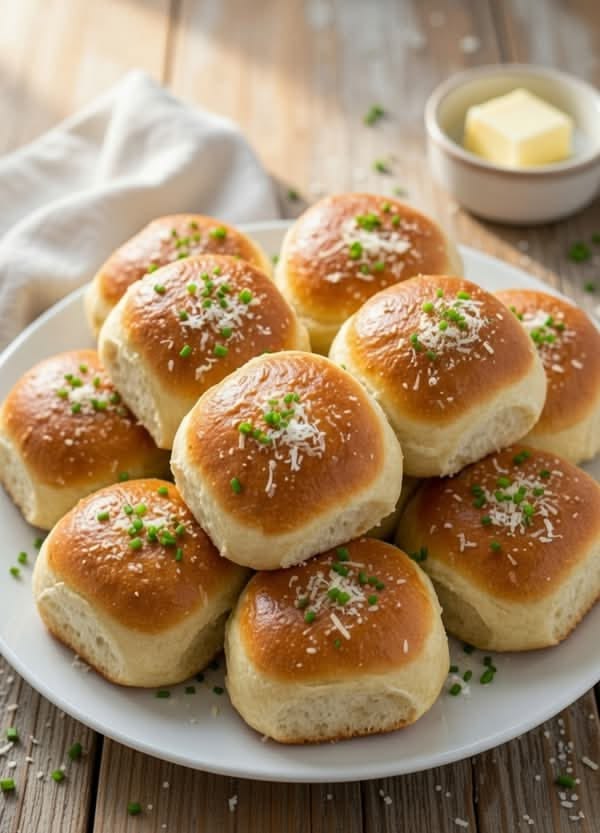
As soon as they come out of the oven, brush generously with the melted butter. If you like, add a light sprinkle of flaky sea salt for a beautiful finish. Let the rolls cool in the pan for at least 5 minutes before serving — though you’ll likely pull one apart within seconds, which is entirely understandable.
Tips for the Perfect Fluffy Texture
Getting bread rolls that are truly melt-in-your-mouth soft comes down to a few key habits.
Use room-temperature ingredients: Cold butter and eggs can tighten the gluten structure and slow fermentation. Take everything out of the fridge at least 30 minutes before you begin.
Don’t over-flour the dough: A sticky dough is a soft dough. Many bakers reflexively dust the counter with more flour than needed, which results in a dense, dry crumb. Trust the process — the dough will become more workable as the butter is incorporated.
Nail the milk temperature: If the milk is too hot (above 120°F), it will kill the yeast. Too cold, and the yeast won’t activate properly. Aim for the temperature of warm bathwater — comfortable on the inside of your wrist.
Let the second proof go long enough: Underproofed rolls come out dense and tight. If you press a finger into a roll and the indentation springs back slowly (not immediately, not not at all), you’re in the sweet spot.
Pro Tips for Soft and Airy Rolls
For rolls that are even more pillowy, try substituting 2 tablespoons of the all-purpose flour with bread flour. The extra protein gives the gluten more strength to trap gas bubbles, leading to a loftier rise and a more chewy-soft texture.
Another professional technique is to add 1 tablespoon of dry milk powder to the dry ingredients. Milk powder is rich in whey proteins, which tenderize the crumb and help the crust stay soft rather than crisp.
If you want an incredibly glossy, restaurant-style finish, brush the rolls with an egg wash (1 egg + 1 tablespoon milk) just before baking, then follow with the butter brush right as they come out. The combination gives you that bakery-perfect sheen.
Finally, for the very best flavor, try the cold proof method: after shaping the rolls and placing them in the pan, cover tightly with plastic wrap and refrigerate overnight (8–16 hours) instead of doing the second proof at room temperature. Bake straight from the fridge — the slow fermentation develops incredible depth of flavor.
Common Mistakes to Avoid
Using old or expired yeast is the number one reason bread fails. Always check the expiration date, and always do the activation test in warm liquid with a pinch of sugar. If it doesn’t foam, replace the yeast.
Adding butter too quickly during kneading can break the dough’s structure. Go slow — one piece at a time, fully incorporated before the next. This patience is what produces that silky, elastic dough.
Over-baking is sneaky because the rolls look done earlier than they are, but leaving them in too long dries out the crumb. Pull them at 18 minutes if you have a convection oven; 22 minutes is usually the max for conventional.
Skipping the butter brush at the end — this isn’t just for looks. Brushing hot rolls with butter as soon as they come out of the oven softens the crust, adds flavor, and keeps the surface from becoming leathery as they cool.
Variations to Try
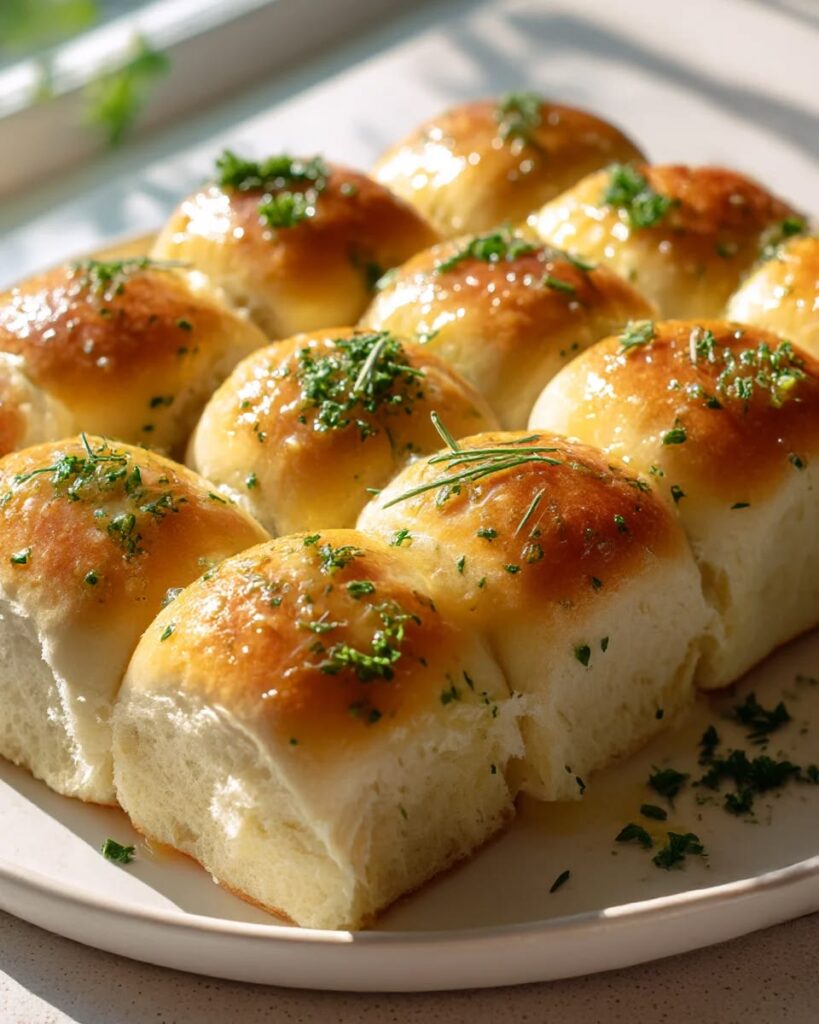
Garlic Butter Rolls: Mix 3 cloves of minced garlic and 1 tablespoon of fresh chopped parsley into the melted butter you use for brushing. Brush the tops generously both before and after baking. These pair perfectly alongside pasta dishes — they’d be a wonderful complement to something like this gorgeous raspberry rose panna cotta for an elegant dinner spread.
Cheesy Pull-Apart Rolls: After the first rise, flatten each roll portion, place a small cube of mozzarella or gruyere in the center, then seal and shape as usual. The cheese melts into the center during baking for a gooey surprise. These are spectacular as part of a cozy dinner — check out these dinner recipes for couples for a romantic evening menu that these rolls would complete beautifully.
Honey Butter Rolls: Replace the granulated sugar in the dough with 2 tablespoons of honey, and mix 1 tablespoon of honey into the melted butter for brushing. The result is a subtly sweet roll with floral notes that’s perfect for brunches.
Everything Bagel Rolls: Brush with egg wash before baking, then generously top with everything bagel seasoning. These are incredible served alongside eggs or cream cheese.
Cinnamon Sugar Rolls: After shaping and before the second rise, brush each roll with softened butter and roll it in a mixture of cinnamon and sugar. A light drizzle of vanilla glaze after baking turns these into a dessert-worthy treat.
Storage and Reheating Tips
Room temperature: Store leftover rolls in an airtight container or zip-lock bag at room temperature for up to 3 days. The tangzhong in the recipe naturally extends their softness compared to standard roll recipes.
Freezing: These rolls freeze beautifully. Once completely cooled, place them in a single layer on a baking sheet and freeze until solid (about 1 hour), then transfer to a freezer bag. They keep well for up to 3 months.
Reheating from frozen: Wrap individual frozen rolls in a damp paper towel and microwave for 30–45 seconds, or place them on a baking sheet, cover loosely with foil, and warm in a 325°F (163°C) oven for 12–15 minutes. They come back to life remarkably well — just finish with a quick butter brush.
Reheating from room temperature: A 15-second blast in the microwave or 5 minutes in a 325°F oven restores that fresh-from-the-oven warmth and softness. Always add a touch more butter after reheating.
How to Serve These Bread Rolls
These rolls are wonderfully versatile. Serve them warm as a dinner side with roasts, soups, or stews. Slice them open and use them as slider buns for mini burgers or pulled pork sandwiches. Or keep it simple and serve them with good butter and flaky salt — sometimes the classics need no improvement.
They’re also fantastic for holiday tables, and because they can be shaped and refrigerated the night before (using the cold proof method), they’re a gift to your future self during busy celebrations. Pop them straight from the fridge into a preheated oven while you finish cooking everything else.
Frequently Asked Questions
Can I use active dry yeast instead of instant?
Yes — just increase the activation time to 10–15 minutes and make sure the mixture is frothy before proceeding. The process and results are the same.
Can I make these dairy-free?
You can substitute the milk with oat milk or almond milk and the butter with vegan butter. The tangzhong still works with plant-based milk, though the rolls will be slightly less rich.
Why are my rolls dense?
The most common culprits are under-activated yeast, too much flour in the dough, or insufficient proofing time. Review each of those steps and make sure you’re giving the dough enough time to rise at both stages.
Can I halve this recipe?
Absolutely. Halve all quantities and use a standard 8×8-inch square pan. The timing for proofing and baking stays roughly the same.
Final Thoughts
Once you’ve made a batch of these fluffy homemade bread rolls, you’ll understand why people say baking bread is one of life’s most satisfying experiences. The process is meditative, the results are stunning, and that first pull-apart moment — when the steam escapes and the crumb stretches like cotton — is genuinely one of the best things you can experience in a home kitchen.
Take your time with the proofing, don’t skip the tangzhong, and brush on that butter the moment they come out of the oven. These small acts of care are what turn a good recipe into an unforgettable one.
Happy baking!


